

Get Started
Getting started with MicroBlocks is easy! Just follow these simple steps.
You’ll need a computer (not a mobile device!) with a USB port, a USB cable, and a board. You can run MicroBlocks in a Chrome or Edge browser, or download a standalone app for Windows, MacOS, or Linux.
Computer Setup
How to set up your computer to use MicroBlocks.
No Installation Needed!
You don't need to install anything to run MicroBlocks in a Chrome or Edge browser; just click Run in the navigation bar at the top of the screen.

This is the easiest solution for teachers. Running MicroBlocks in the browser avoids the need to install a conventional application, a process that often requires IT assistance.
MicroBlocks will run in other browsers, but it can only connect to a board when run in Chrome or Edge on a desktop, laptop, or Chromebook computer (not a mobile device).
Optional: Save MicroBlocks as a "Progressive Web App"
If you have a slow internet connection or need to run MicroBlocks offline, you can save a copy of MicroBlocks as a "progressive web app" that you can launch via a shortcut icon like a conventional application.
To save the MicroBlocks web app, run MicroBlocks in your browser, then click the install button on the top right of the browser's URL bar:
Chrome:

Edge:

That will install the web app and open MicroBlocks in a new window. It will also add a shortcut to your desktop so you can launch the web app later.
Linux Users, Read On
If you're on Linux, you will probably need to grant permission to your user to access the serial port. If MicroBlocks does not connect to your board, please run:
groups
to check if you are in the dialout and tty groups.
If you are not in the dialout and tty groups, you can manually add yourself by doing:
sudo usermod -a -G dialout <your user name>
and
sudo usermod -a -G tty <your user name>
You will need to log out and log in again to make this change take effect.
To verify that Linux sees your board, make sure the board is plugged in, then run:
ls /dev | grep ACM
You should see an entry for your board, usually ttyACM0.
In 2022, some Linux distributions, including Ubuntu and Mint, began installing by default a package called BRLTTY (short for Braille TTY). Unfortunately, that package conflicts with microcontroller boards that use the CP210x USB-serial chip, including many boards supported by MicroBlocks. BRLTTY grabs these boards so that no entry for the board appears in in /dev. This problem can be solved by removing the BRLTTY package:
sudo apt remove brltty
Windows App
Go to the Download page and click the Download button.
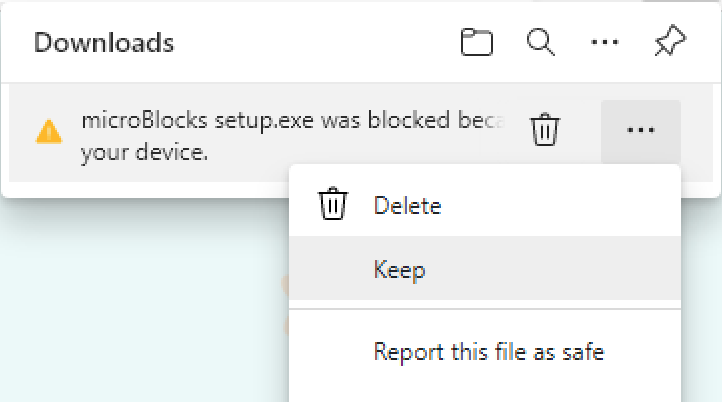
In Chrome or Edge, you will be warned that the downloaded file could harm your computer.
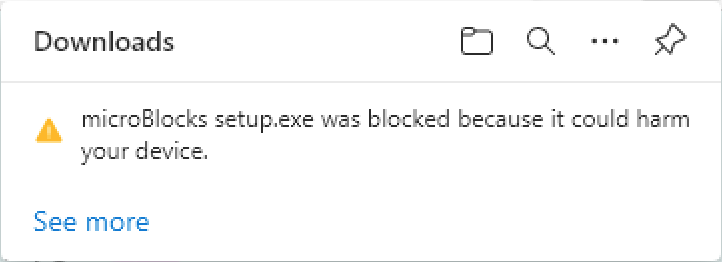
Click the three-dot menu and select Keep.
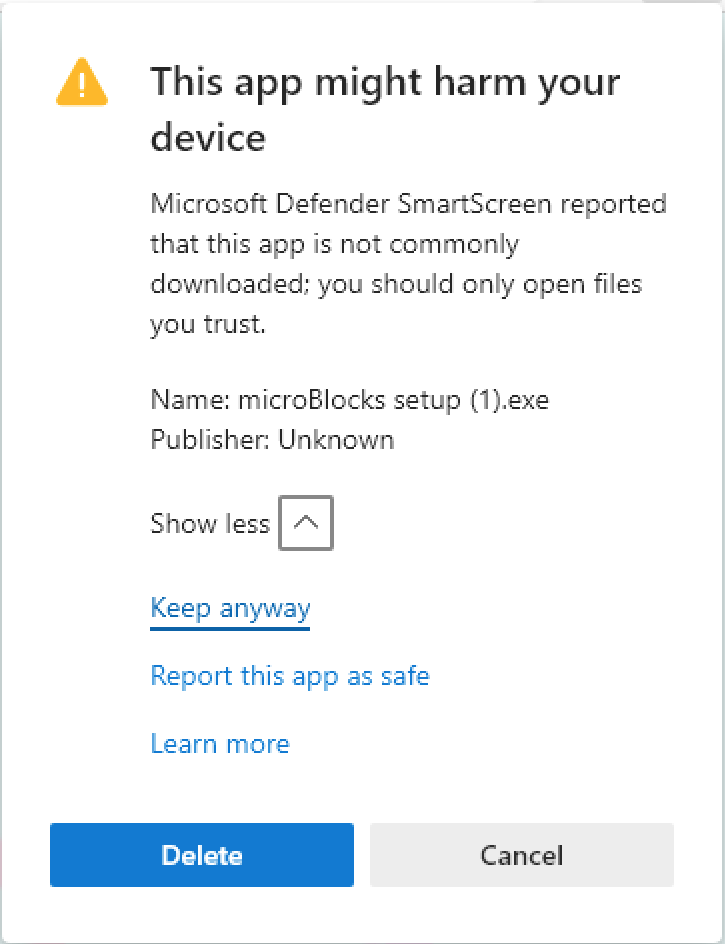
You will then get another warning. Click Show more and Keep anyway.
Open the saved file, microBlocks setup.exe.
After one more warning, that will open the installer.
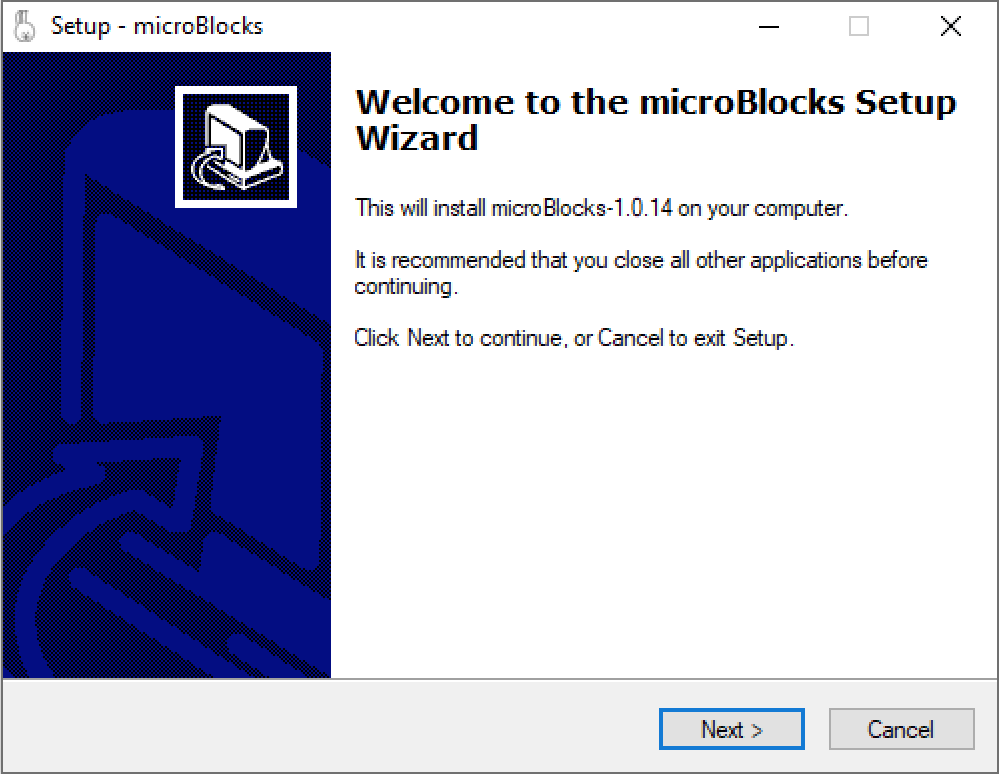
Click through the installer screens to install the app.
The installer will launch MicroBlocks when it is done. It will also add a shortcut icon to the Desktop that you can use to run MicroBlocks later.
MacOS App
Go to the Download page and click the Download button.
Open the Downloads folder on your computer. Double-click MicroBlocks.app.zip to unzip it.
Right-click on MicroBlocks.app and select Open. A dialog will inform you that the app was downloaded from the Internet.
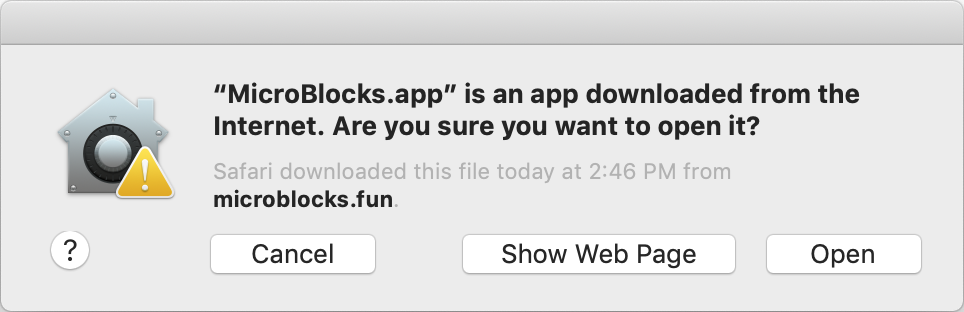
Click the Open button.
Although it will seem that nothing happened, you can now open the app by double-clicking it.
To finish, drag MicroBlocks.app to the Applications folder and drag MicroBlocks.app.zip to the trash.
Troubleshooting
If you cannot open MicroBlocks.app, open System Preferences… from the Apple menu and select Security & Privacy. In the General tab, make sure that Allow apps downloaded from: is set to App Store and identified developers.
Linux App
Go to the Download page and click the Download button.
The browser will give you the option to save the file or open it with Software Install. Select open.
Click the Install button. Enter the root password when prompted and click Authenticate.
The first time you install MicroBlocks you must reboot. The installer adds the user to the access group for the serial port, but that change does not take effect until the next reboot.
Linux Chrome Bluetooth Setup
As of this writing, Web Bluetooth is still experimental in the Linux version of Chrome. Thus, to use Bluetooth Low Energy (BLE) in a Chrome browser on Linux, you must enable a Chrome flag. In the Chrome URL bar enter:
chrome://flags
Then search for and enable the flag:
Experimental Web Platform features
Troubleshooting
If Software Install does not work, click the Download button and save the file instead of opening it.
Open a terminal and run (for 64-bit):
sudo apt install ~/Downloads/ublocks-amd64.deb
or (for 32-bit):
sudo apt install ~/Downloads/ublocks-i386.deb
If MicroBlocks does not connect to your board, make sure that you rebooted after running the installer. Then run:
groups
to verify that you are in the dialout and tty groups.
If you are not in the dialout and tty groups, you can manually add yourself by doing:
sudo usermod -a -G dialout <your user name>
and
sudo usermod -a -G tty <your user name>
You will need to log out and log in again to make this change take effect.
To verify that Linux sees your board, make sure the board is plugged in, then run:
ls /dev | grep ACM
You should see an entry for your board, usually ttyACM0.
In 2022, some Linux distributions, including Ubuntu and Mint, began installing by default a package called BRLTTY (short for Braille TTY). Unfortunately, that package conflicts with microcontroller boards that use the CP210x USB-serial chip, including many supported by MicroBlocks. BRLTTY grabs these boards so that no entry for the board appears in in /dev. This problem can be solved by removing the BRLTTY package:
sudo apt remove brltty
Chromebook Setup
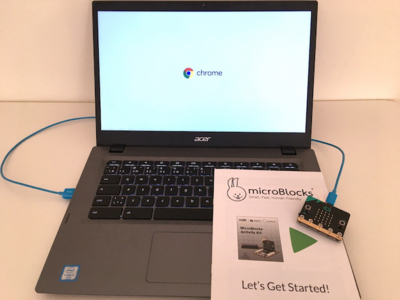
Google is phasing out Chrome apps. Thus, for most Chromebook users, it is better to run MicroBlocks in the browser instead of installing the app.
However, some older Chromebooks have reached their end of life and cannot be updated to a version of Chrome that supports webserial (v89 or later). Fortunately, such Chromebooks can still run the MicroBlocks Chrome app.
Go to the Download page and click the Download button. If are on a Chromebook, that will bring you to the MicroBlocks page on the Chrome Web Store.
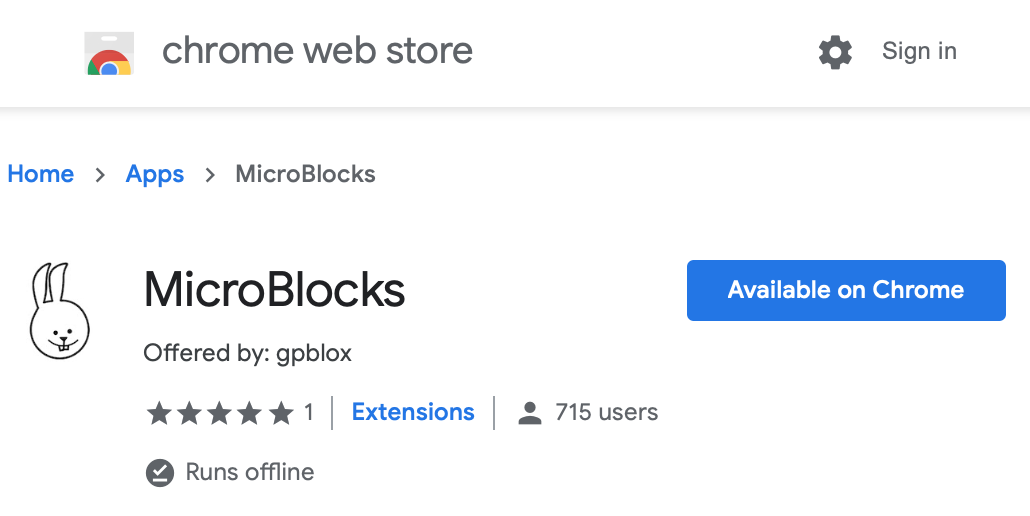
Click the Add to Chrome button to install the app.
To run, open the Chromebook app launcher and click the MicroBlocks bunny icon.
You can pin the MicroBlocks app to make it easy to open in the future.
Board Setup
How to set up your board for MicroBlocks.
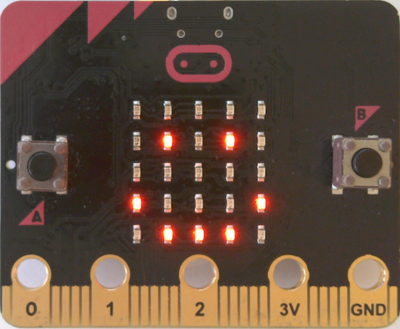
micro:bit (v1 or v2)
Connect the board to your computer.
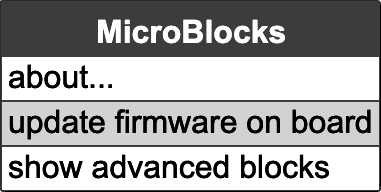
From the MicroBlocks menu (gear icon), select update firmware on board.
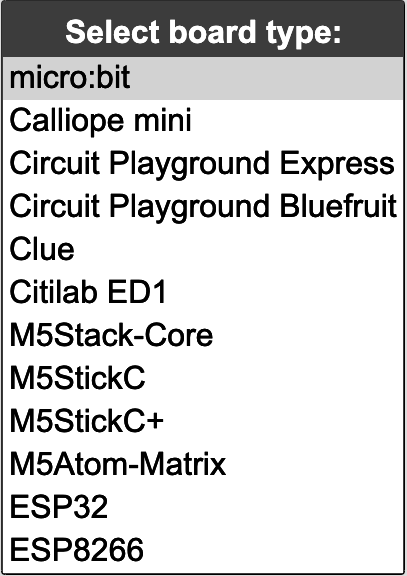
Select micro:bit from the menu.
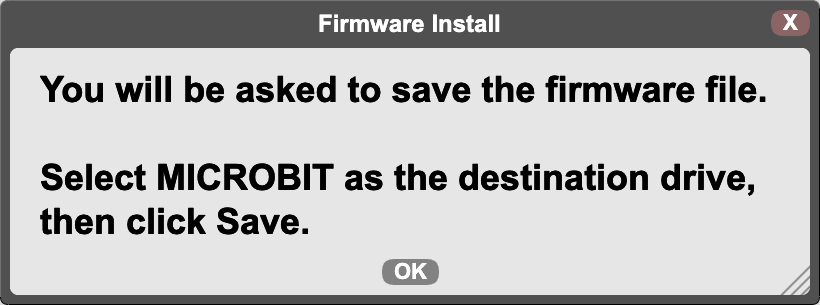
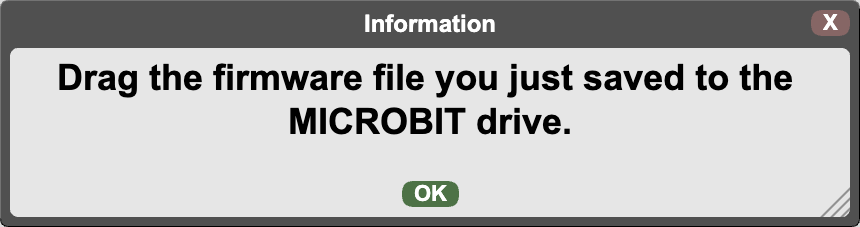
A dialog box will appear. Read the instructions, then click OK.
In the browser's save dialog, select your Downloads folder, then click the Save button.
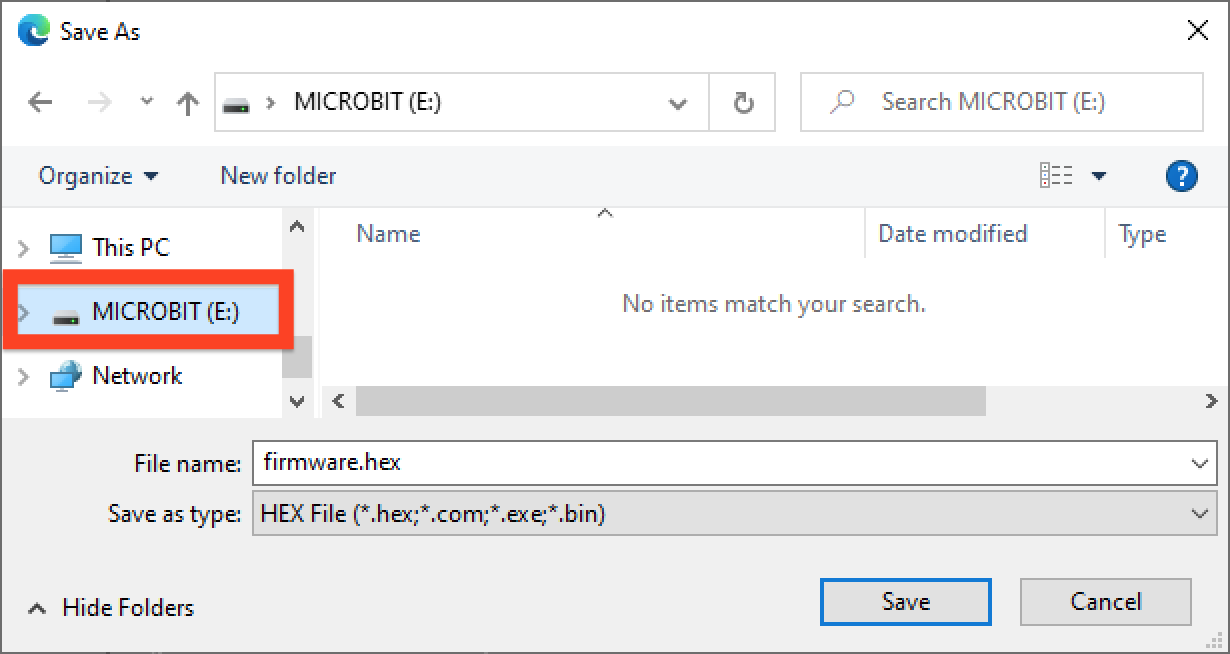
Finally, drag the firmware file to the MICROBIT drive.
You will see the orange light on the board flicker as the firmware is installed.
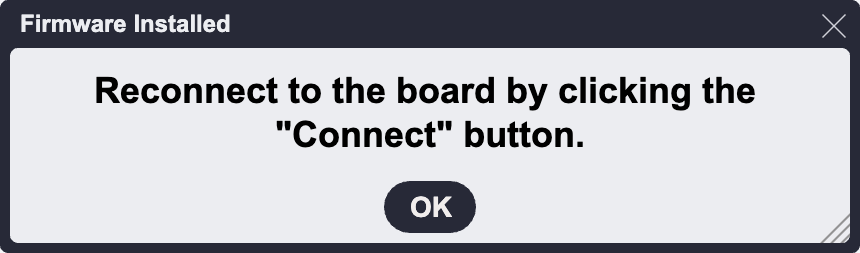
When the installation is done, you will be prompted to use Connect menu to connect to the board.
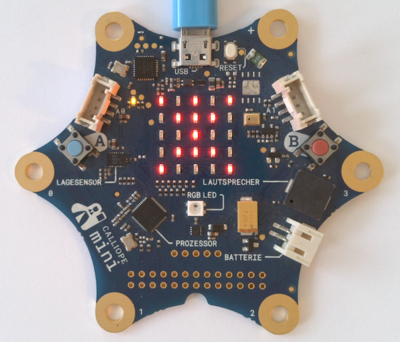
Calliope mini
Connect the board to your computer.
From the MicroBlocks menu (gear icon), select update firmware on board.
Select Calliope from the menu.
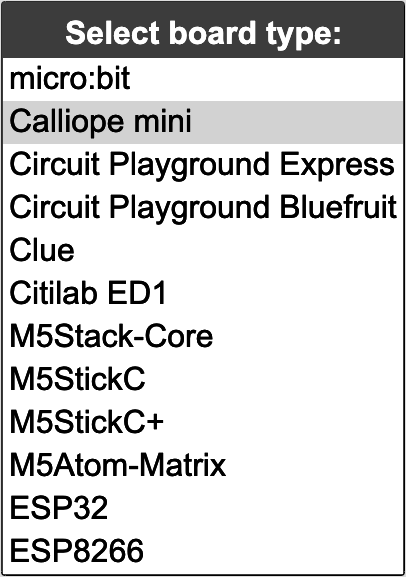
A dialog box will appear. Read the instructions, then click OK.
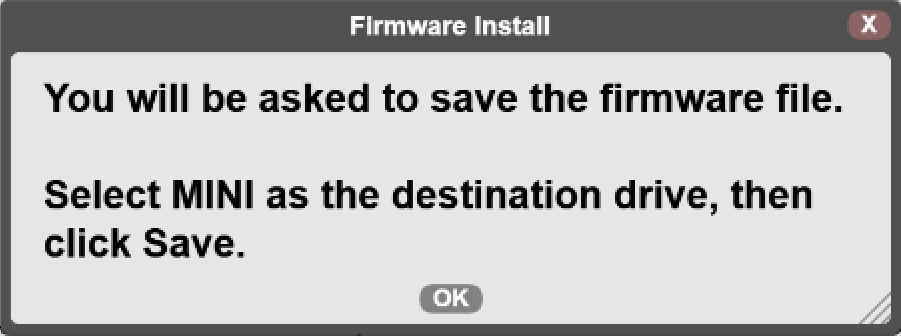
In the browser's save dialog, select your Downloads folder, then click the Save button.
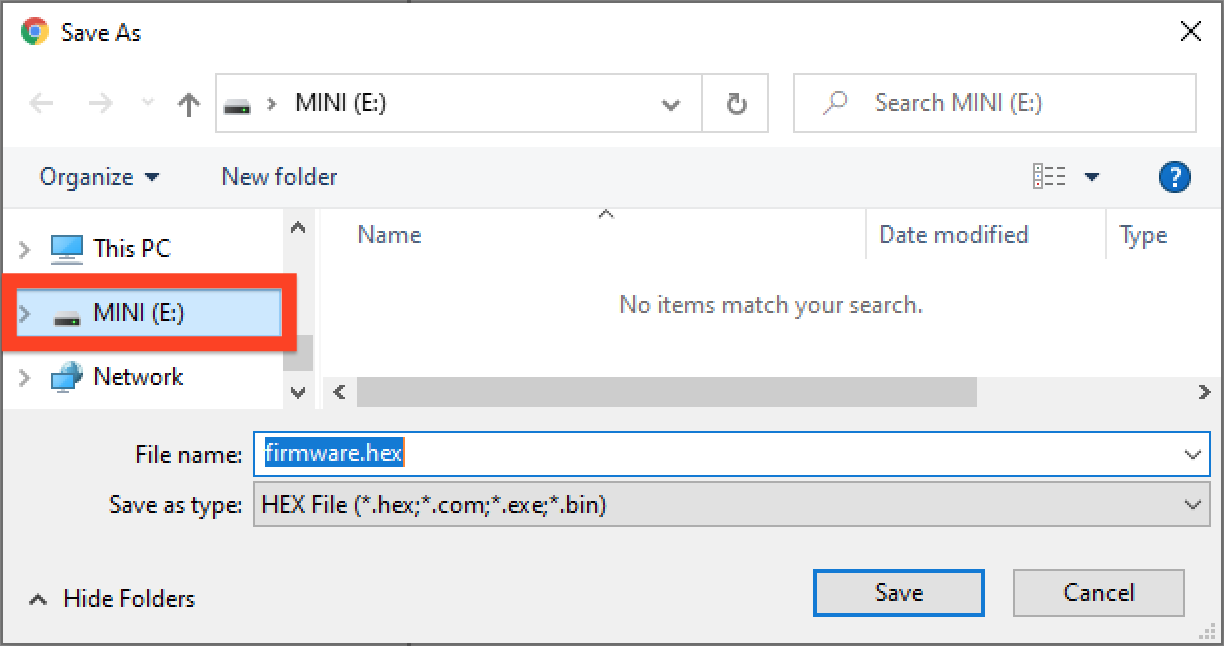
Finally, drag the firmware file to the MINI drive.
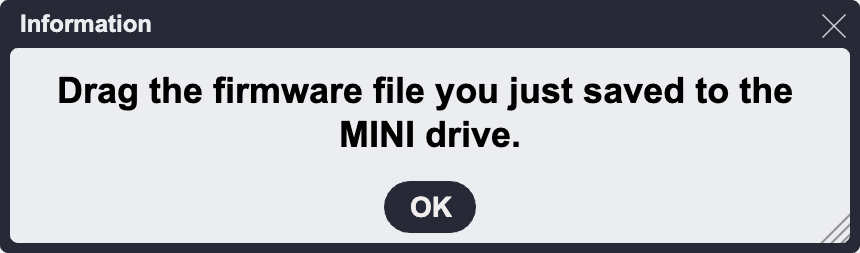
You will see the orange light on the board flicker as the firmware is installed.
When the installation is done, you will be prompted to use Connect menu to connect to the board.
Troubleshooting
The vm_calliope-universal.hex file contains firmware for both the Calliope mini V3 and for earlier versions of the board. Some computers have difficulty installing this large .hex file. When the firmware installation fails, MicroBlocks cannot connect to the board.
If installation is failing and you have an earlier version of the Calliope mini (before V3), follow the instructions in the Other tab to install the much smaller vm_calliope_v1_v2.hex.
Certain models of Macintosh computers with Apple Silicon processors (e.g. a 2021 Mac Powerbook with an M1 processor) have a hardware incompatibility with the Calliope v2.x that causes the "MINI" drive to repeatedly eject itself. Fortunately, this problem seems to occur on only a few Macintosh models. If you experience this problem, a workaround is to install the Calliope 1.3 USB firmware on your Calliope 2.x (yes, it works!). While the second Calliope drive (named "FLASH") will be unavailable, this USB firmware makes the Calliope usable on the problem Macintosh. The Calliope USB firmware and installation instructions can be found in the Where can I download the latest USB firmware? section on the Calliope FAQ page.
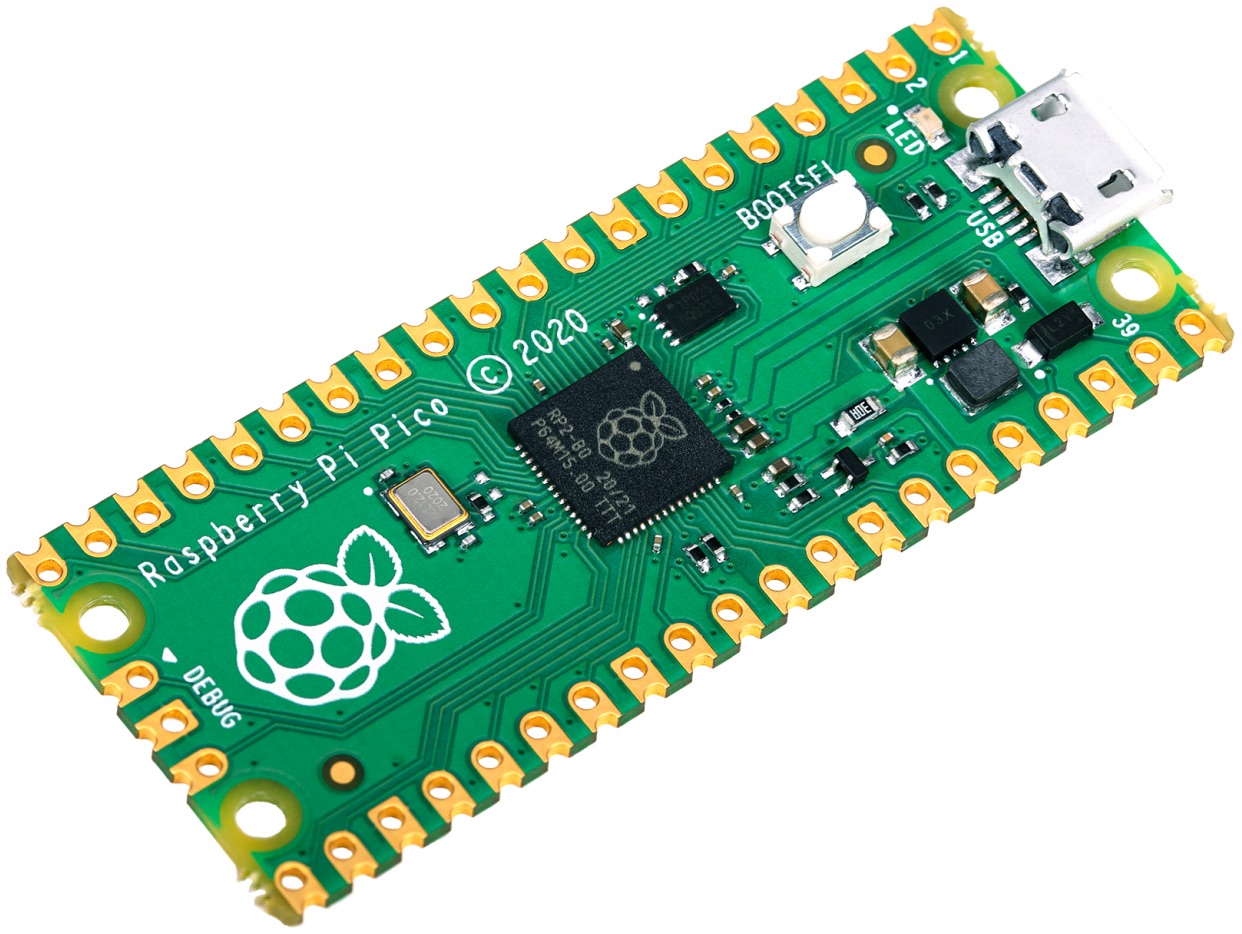
Raspberry Pi Pico (RP2040)
Note: The MicroBlocks RP2040 firmware works on either Pico or Pico-W boards.
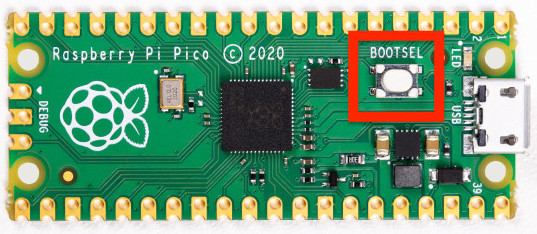
Connect the board to your computer while holding down the white BOOTSEL button. Release the BOOTSEL button after the board is connected.
From the MicroBlocks menu (gear icon), select update firmware on board.
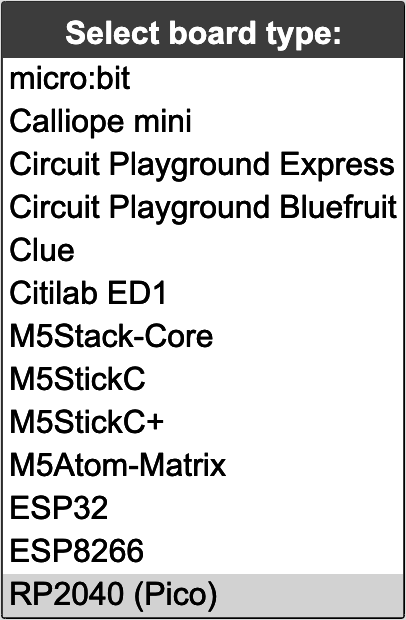
Select RP2040 (Pico or Pico W) from the menu.
A dialog box will appear. Read the instructions, then click OK.
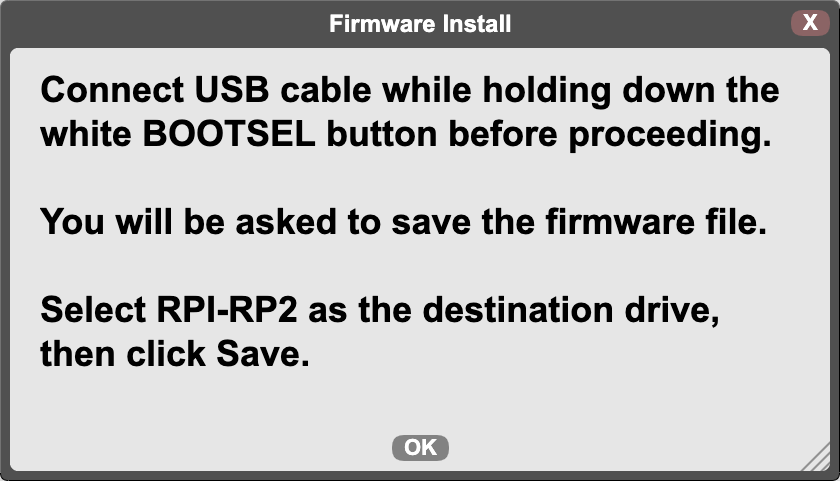
In the browser's save dialog, select your Downloads folder, then click the Save button.
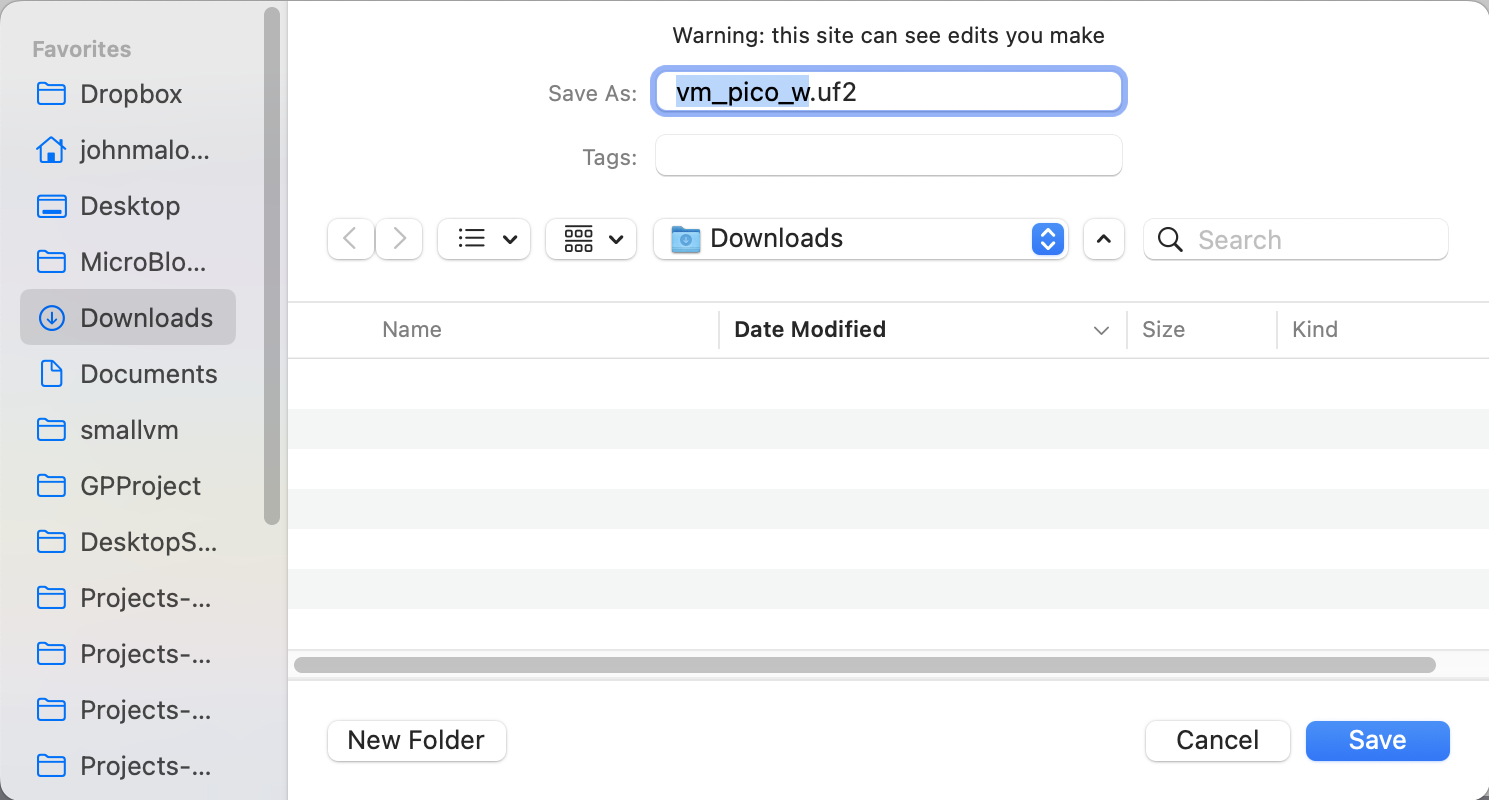
Finally, drag the firmware file to the RPI-RP2 drive.
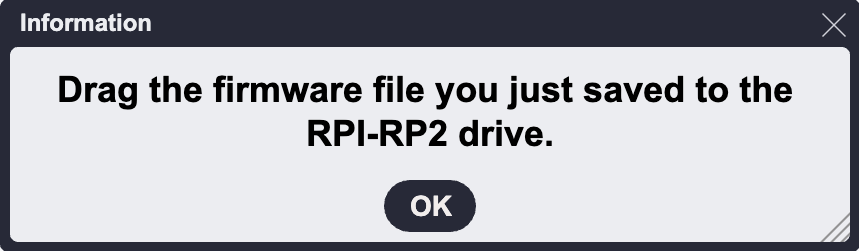
You will see the orange light on the board flicker as the firmware is installed.
When the installation is done, you will be prompted to use Connect menu to connect to the board.
If the board does not connect you may need to power cycle it by disconnecting and reconnecting the USB cable.
Pico2 and Pico2-W Boards
MicroBlocks also supports Raspberry Pi Pico2 boards (RP2350 and RP2350-W). Each of those boards requires its own firmware. Follow the instructions in the Other tab to install either vm_rp2350.uf2 (for Pico2) or vm_rp2350_w.uf2 (for Pico2-W).
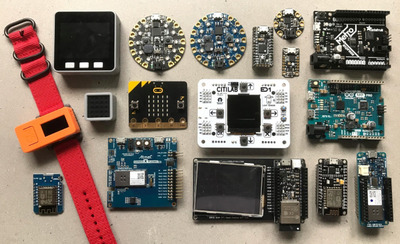
Citilab ED1, CoCube, and other ESP32 and ESP8266 Boards
Board setup is similar for the Citilab ED1, CoCube, Databot, micro:STEAMakers+, Springbot, and other popular boards based on the ESP32. The same firmware installation process works for ESP8266 such as the NodeMCU and Wemos D1 Mini.
Connect the board to your computer.
From the MicroBlocks menu (gear icon), select update firmware on board.
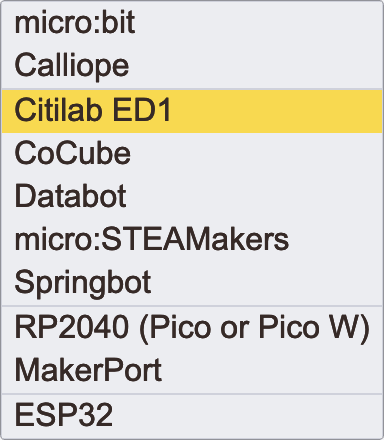
Select your board type from the menu.
You will be asked to open the serial port:
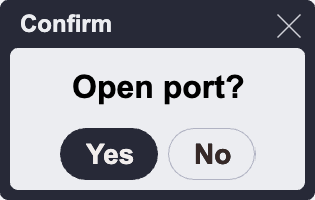
MicroBlocks will start the firmware install process.
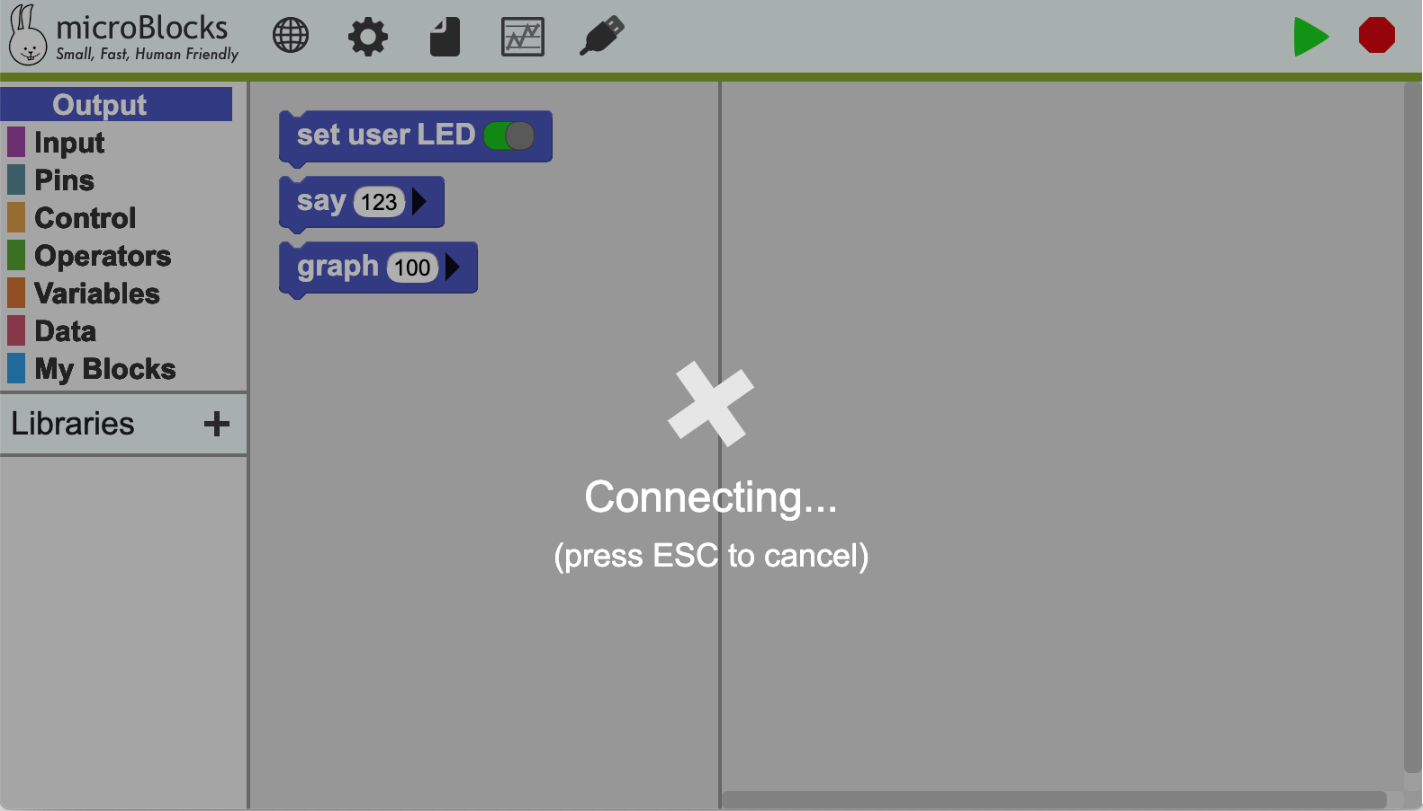
Note: Some ESP boards will connect only if you hold down the Flash or Boot button at the start of the firmware installation process. You can release the button when the progress indicator appears.
Once MicroBlocks has connected the board, you will see a progress indicator as the firmware is installed.
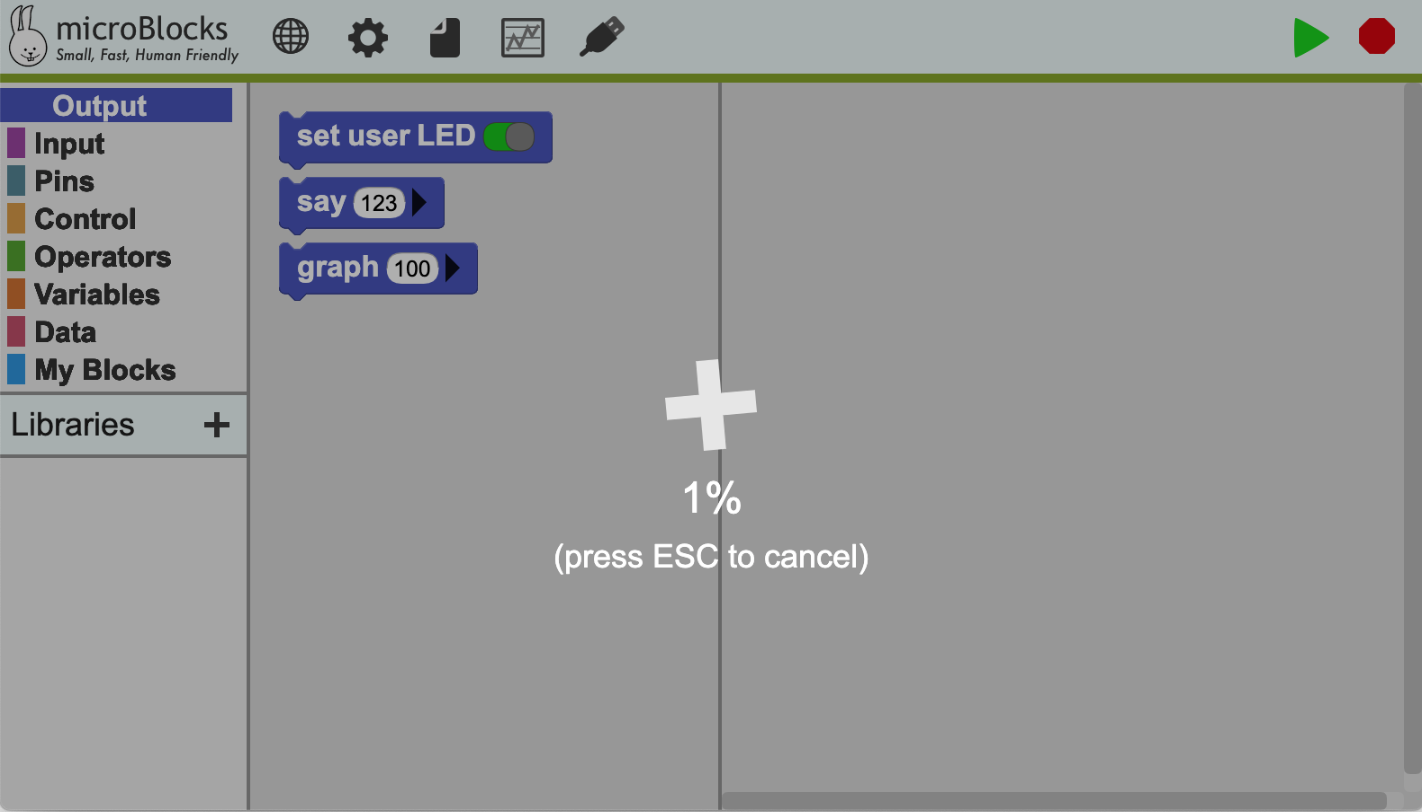
Important: When installing firmware in the browser do not navigate away from the MicroBlocks tab while firmware installation is in progress. Doing that will abort the installation and you'll need to do it again.
For ESP32 boards, the progress sequence will repeat several times as different parts of the firmware are installed. The firmware installation process can take several minutes.
Once the process completes, you will be prompted to use Connect menu to connect to the board.
If the board does not appear in the Connect dialog box try resetting or power cycling the board.
Other ESP Boards
MicroBlocks supports dozens of ESP32 boards. Only the most popular ones are included in the menu, but you can download and install firmware for many others using advanced mode menu commands.
First, enable advanced mode in the gear menu:
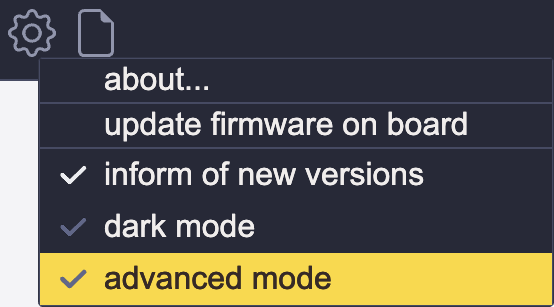
Now select install ESP firmware from microblocks.fun command from the advanced gear menu:
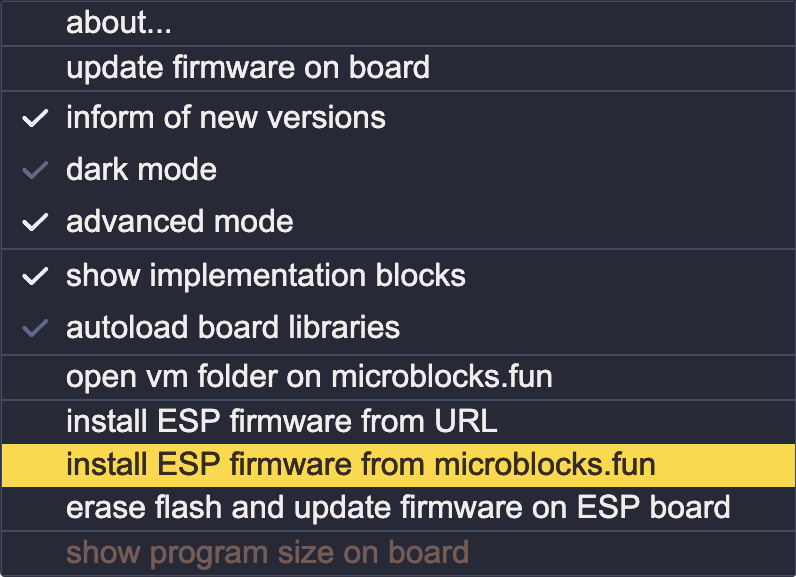
and select your board from the menu of available ESP firmware options. The rest of the firmware install process is as described above.
Troubleshooting
Firmware installation on ESP32 and ESP8266 boards can be tricky.
Some boards require you to hold down the Flash or Boot button to start the installation process.
On other boards, firmware installation may fail randomly, not only with MicroBlocks but with other tools as well. You may need to try several times.
It sometimes helps to unplug the board, quit and restart MicroBlocks (or, when running in the browser, reload the page), then plug the board in and try again.
Fortunately, ESP boards work well with MicroBlocks once the firmware is installed.
Other Boards
MicroBlocks supports many other boards, including boards based on Atmel SAMD21, Nordic nRF52, and Raspberry Pi Pico RP2040 and RP2350 processors. Firmware is installed on these boards by putting the board into bootloader mode then dragging a .uf2 file onto the virtual USB drive for the board.
Start by downloading the firmware for your board from the vm folder on the MicroBlocks website.
Connect the board to your computer, then put the board into bootloader mode. The process for entering bootloader mode varies.
Raspberry Pi Pico boards: Connect the board to your computer while holding down the white BOOTSEL button. Release the BOOTSEL button after the board is connected.
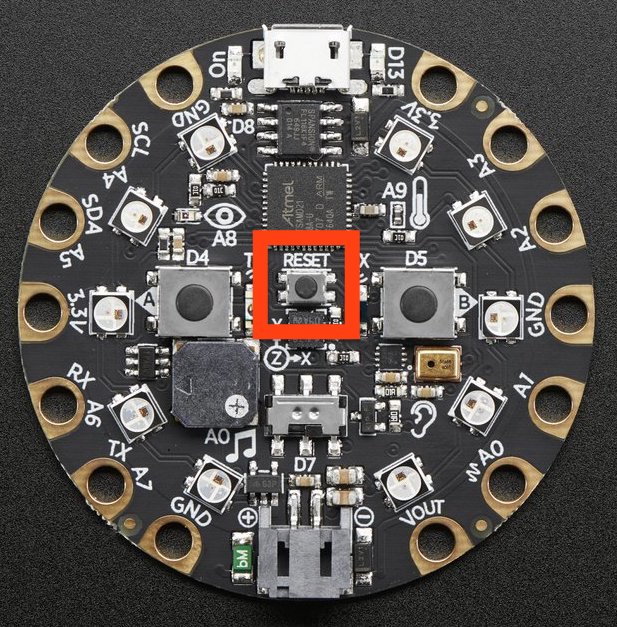
Other boards: Double-click the RESET button. For example, on a Circuit Playground Express that is the button in the center of the board:
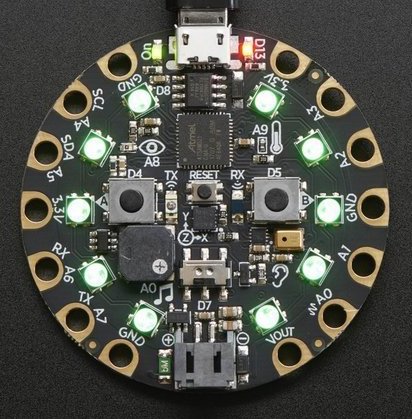
On boards with one or moreNeoPixels, the NeoPixel(s) typically turn green when the board is in bootloader mode.
A virtual USB drive for your board will appear in a few seconds. The name of the drive varies by board but should be obvious.
Drag the .uf2 file you downloaded onto the USB drive to install the firmware.
You will see the orange light on the board flicker as the firmware is installed.
When the installation is done, you will be prompted to use Connect menu to connect to the board.
When the firmware installation process is complete, the USB drive ejects itself. On some systems you will see a warning that the drive was not ejected properly. That warning is harmless and can be ignored.
Troubleshooting
If your Adafruit board (e.g. Circuit Playground Bluefruit) has a very old Adafruit bootloader, the MicroBlocks firmware installation may fail. The symptom of this problem is that the board will stay in firmware update mode: the NeoPixels will stay red or green even after power-cycling and MicroBlocks will be unable to connect to the board.
You can fix this problem by updating your bootloader following Adafruit's excellent instructions here.
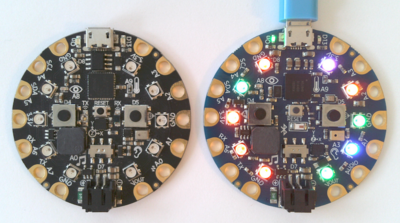
Circuit Playground Express or Bluefruit
Connect the board to your computer. Quickly click the small reset button in the center of the board twice.
The LED's will turn red for a few seconds, then turn green and stay green.
If they don't turn green the first time, try again.
From the MicroBlocks menu (gear icon), select update firmware on board.
Firmware installation takes just a few seconds. If you are running the MicroBlocks app, MicroBlocks will connect to the board automatically when it is done.
This video shows these steps.
Extra Steps in Browser
If you are running MicroBlocks in the browser or as a web app, you need to help the browser. For security reasons, the browser cannot access the board's USB drive without asking the user.
First, select your board type from the menu.
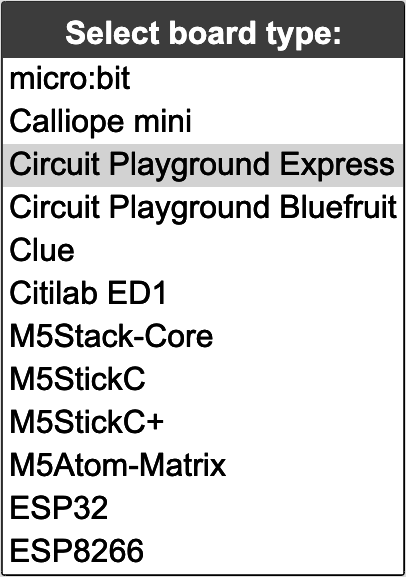
You'll be asked to select the USB drive for the board in the browser's file save dialog.
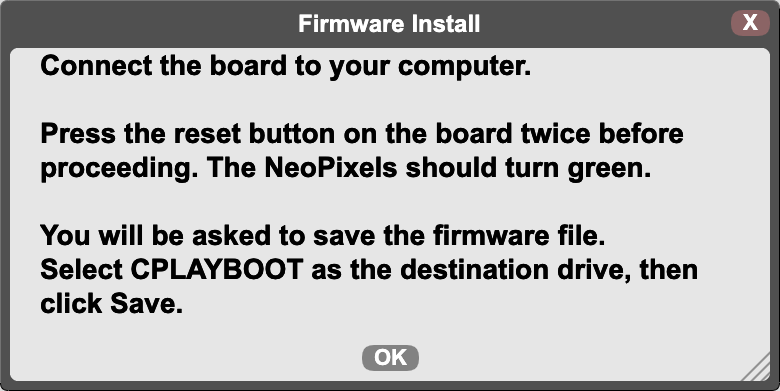
Follow the instructions to save the firmware file on your board. When the file is saved (just a few seconds), click to USB icon to connect to it.
Troubleshooting
If your Circuit Playground Bluefruit board has a very old Adafruit bootloader, the MicroBlocks firmware installation may fail. The symptom of this problem is that the board will stay in firmware update mode: the ring of LED's stay red or green even after power-cycling and MicroBlocks will be unable to connect to the board.
You can fix this problem by updating your bootloader following Adafruit's excellent instructions here.
Adafruit Clue
The process for installing firmware on the Clue is identical except that the reset button is on the back of the board.
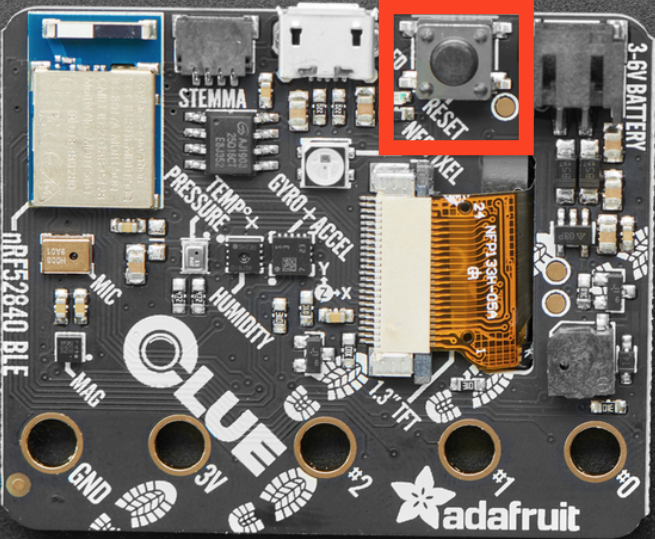
and the Clue has only a single NeoPixel that turns green. (It's on the back of the board just below the USB connector.)
Start Coding!
How to open the MicroBlocks editor and connect your board.
Start MicroBlocks
Browser: Open the MicroBlocks editor in a Chrome or Edge browser by clicking the Run button in the navigation bar at the top of the MicroBlocks website.
Note: As of this writing, only Chrome and Edge support the WebUSB and WebBluetooth API's that MicroBlocks uses to communicate with boards.
Offline App: If you've installed MicroBlocks as a stand-alone or progressive web app, click the app icon to open the application.
Connect With USB
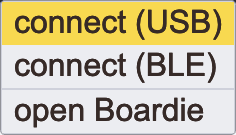
Plug in your board, then click the connect button on the right side of the editor's top bar.
Select Connect (USB) from the menu.
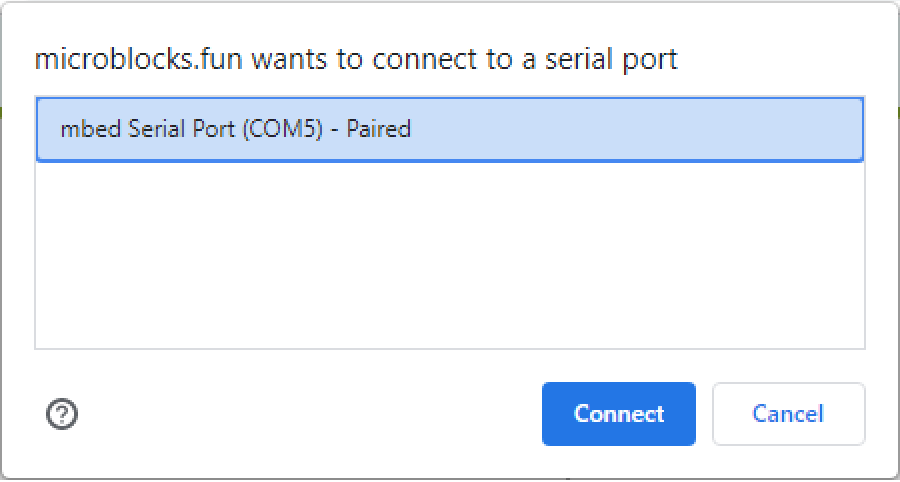
Select your board from the USB connect dialog, then click Connect.
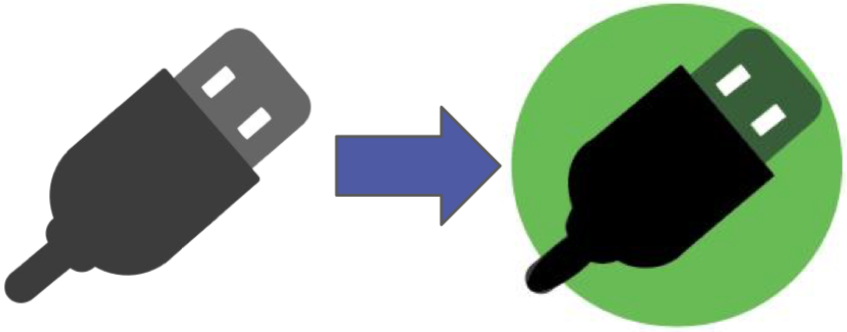
If you have installed the MicroBlocks firmware (see Board Setup) the connect button will turn green and the board name will appear.
Connect Wirelessly with Bluetooth
Boards that support Bluetooth, such as the micro:bit V2, Calliope mini V3, ESP32 boards, and Raspberry Pi Pico-W boards, can be programmed wirelessly. This is especially helpful when working with mobile robots.
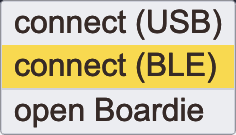
To connect to the board via Bluetooth Low Energy (BLE), select Connect (BLE) from the connect menu.
Each board has a three-letter code that helps students find their own board in classroom settings. Boards with displays flash their three letter code on the display when the board is powered up or reset.
Select your board from the BLE connect dialog, then click Pair.
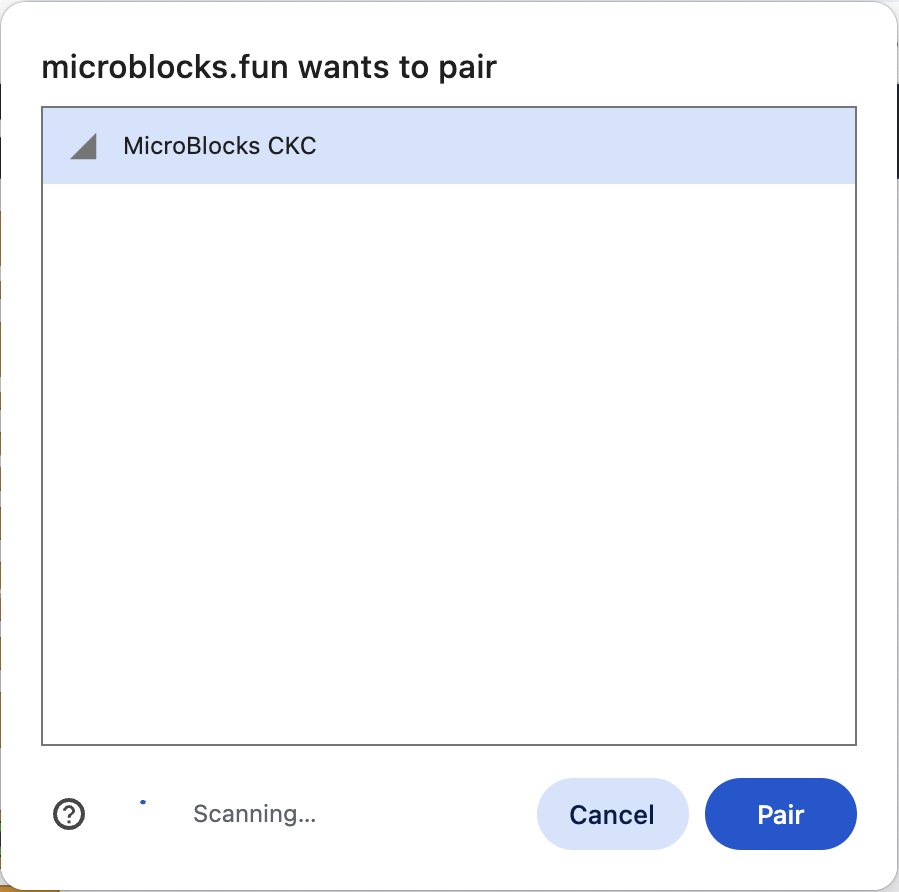
The connect button will turn green and the board name will appear when you are connected.
Working with MicroBlocks
While you are connected to the board, your scripts will be downloaded to the board as you work. You can click on blocks and scripts to see what they do or use the say and graph blocks to see and graph sensor values. This immediate feedback as you work is one of the key benefits of MicroBlocks.
For a quick introduction to using MicroBlocks, check out this video (micro:bit) or this one (Circuit Playground Express or Bluefruit). You can also explore the user guide and blocks reference manual.
Boardie
No board? No problem! You can try MicroBlocks using Boardie, a virtual board that runs right in the MicroBlocks editor.
Select Boardie from the connect menu.
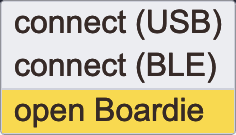
Boardie will open:
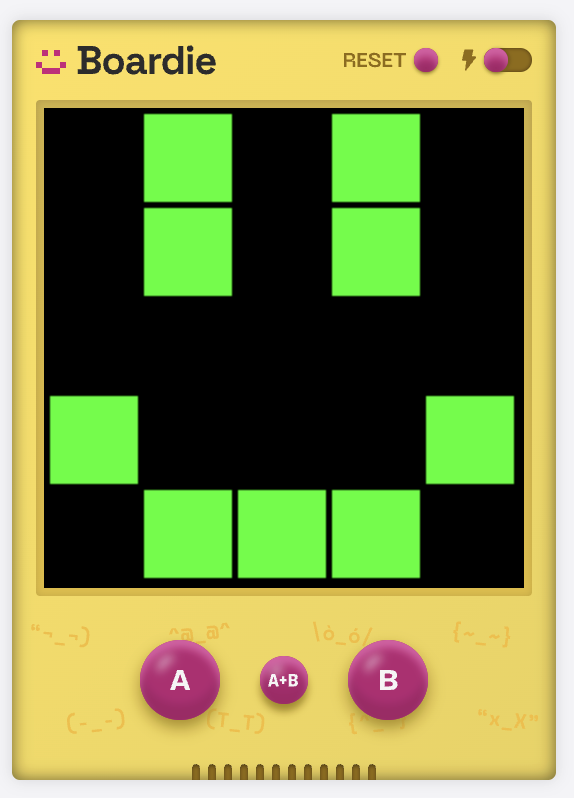
Boardie does not support things that depend on physical hardware such as I/O pins, sensors or servos, but it does support graphics, sound output, and A/B user buttons. Boardie's features allow you to learn coding while creating interesting music, art, and game projects even before you get a real board.
Of course, real boards are even more fun because they can interact with the physical world. Real boards can also be built into things like party hats, magic wands, robots, and science experiments. But boardie is a great place to start!
It is easiest to run MicroBlocks in the browser since that works without downloading or installing an application. However, if you need to run MicroBlocks offline (e.g. in places without internet access) there are several options.
Install MicroBlocks as a "Progressive Web App"
Chrome and Edge browsers allow MicroBlocks to be saved as a "progressive web app" -- an application that be run offline in a browser-like window. Follow the instructions in the Browser Setup section above. This is the only offline solution for Chromebooks.
Windows, Macintosh, and Linux
The tab for your operating system in the Computer Setup section above explains how to download and install MicroBlocks as a stand-alone application for Windows, Macintosh, and Linux computers.
Both progressive web apps and stand-alone appsinclude the same libraries, example projects, and installable firmware included in the web application, so these apps are entirely self-sufficient without an internet connection.
For a quick introduction to using MicroBlocks, check out this video (micro:bit) or this one (Circuit Playground Express or Bluefruit). You can also explore the user guide and blocks reference manual.